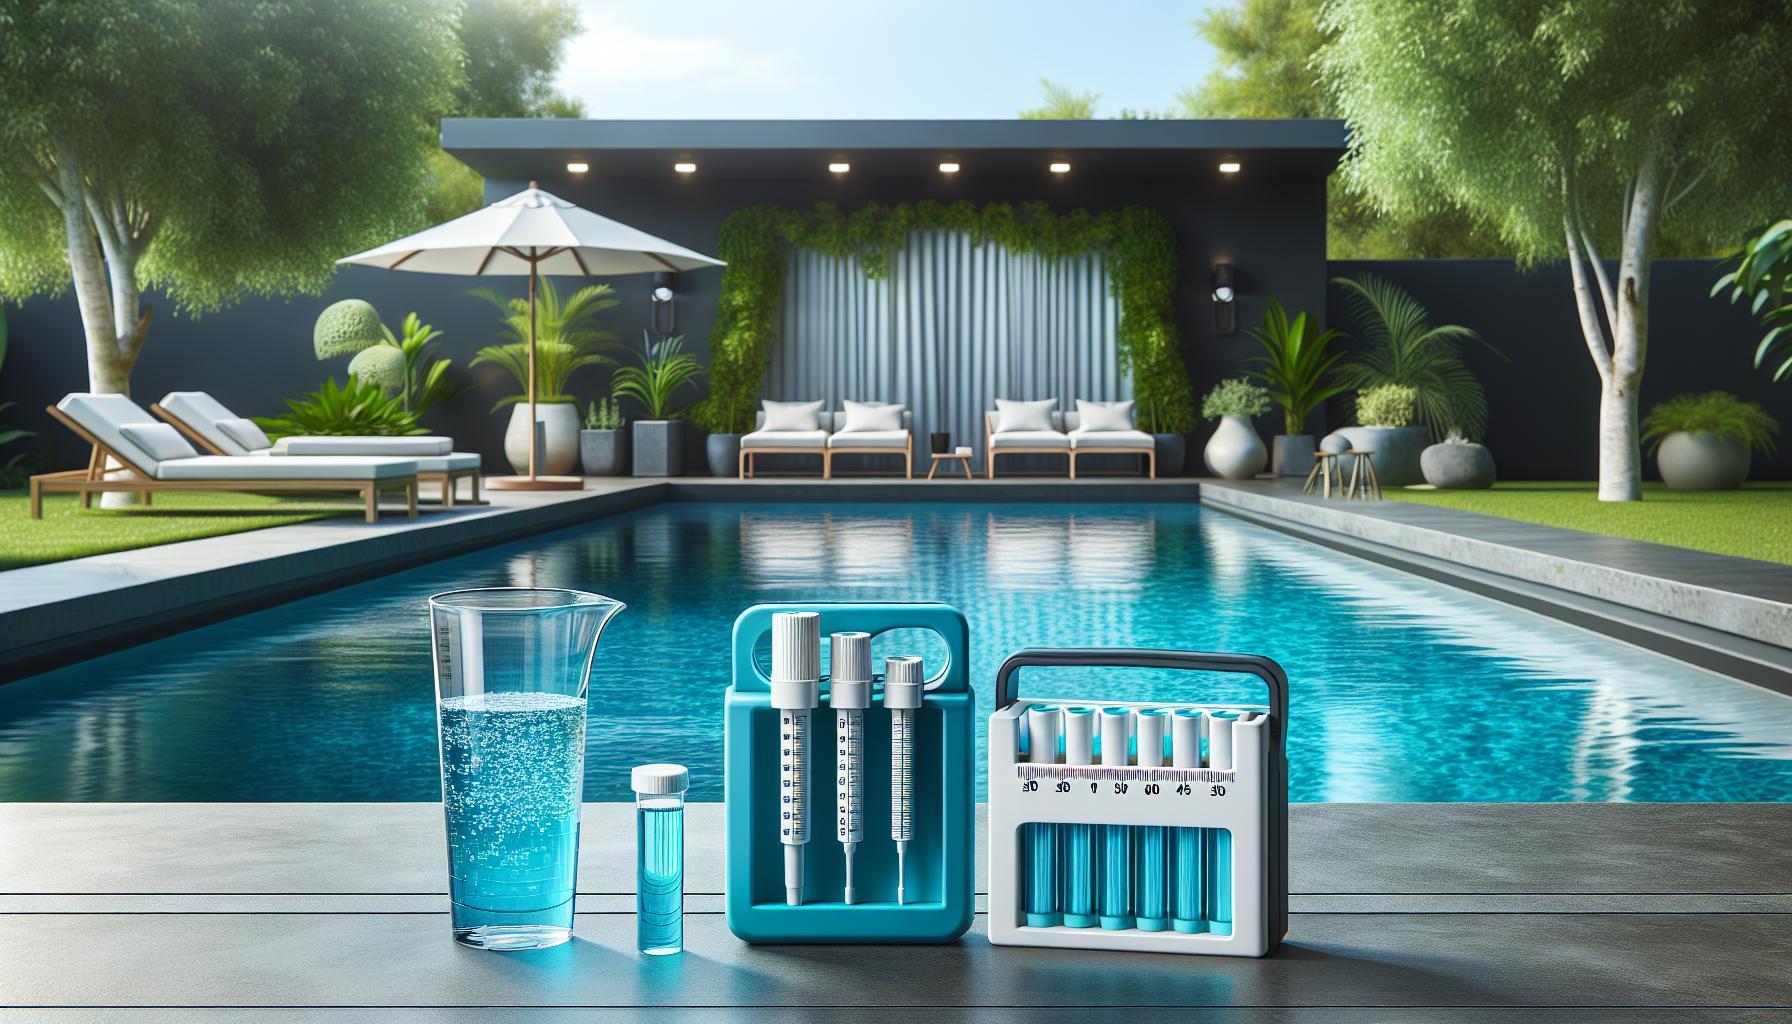
Did you know that maintaining the right calcium hardness levels in your pool is crucial for the longevity of its surfaces and overall water quality? Low calcium hardness can lead to etching, corrosion, and a host of other maintenance headaches that can significantly diminish your pool experience. By understanding how to effectively increase calcium hardness, you can protect your investment and enjoy a safe, beautiful swimming environment.
As a pool owner, you likely want to avoid costly repairs while ensuring your pool remains inviting and refreshing. Whether you’re dealing with cloudy water or damaged plaster, knowing how to adjust calcium levels can directly impact the health of your pool. This guide provides practical, step-by-step instructions that empower you to tackle this common challenge confidently. Keep reading to discover effective solutions to enhance your pool’s calcium hardness and ensure crystal-clear, safe waters for you and your family.
Understanding Calcium Hardness and Its Importance
Understanding the balance of calcium hardness in your pool is essential for maintaining not only a clean and clear swimming environment but also the integrity of your pool surfaces. Calcium hardness refers to the amount of dissolved calcium in the water, which plays a pivotal role in preventing corrosive or scaling effects. When calcium levels are too low, the water can become aggressive, leading to the leaching of calcium from pool surfaces and equipment. Conversely, excessively high levels can result in unsightly scaling and cloudy water.
Low calcium hardness can manifest in various issues, such as etching or pitting of plaster surfaces, damage to grout, and wear on pool equipment. These problems not only detract from the aesthetic appeal of your pool but can also lead to costly repairs and maintenance over time. Maintaining optimal calcium levels is therefore not just a matter of comfort and clarity but a vital aspect of preserving the investment you’ve made in your pool.
To ensure your pool maintains the right calcium hardness levels, regular testing is necessary. This can be done using test strips or liquid test kits, which indicate the calcium concentration in your pool water. Ideally, you want to see calcium hardness levels ranging between 200-400 ppm (parts per million) for plaster pools, though specific requirements may vary based on the type of pool surface. Taking the time to understand these levels will empower you to make informed decisions on adjustments and prevent trouble before it escalates.
Key Benefits of Proper Calcium Hardness
- Prevents Corrosion: Keeping calcium levels within the ideal range inhibits corrosion of metal components like ladders, ladders, and pumps.
- Avoids Scaling: Balanced levels minimize the formation of scale deposits, which can create rough surfaces and lead to cleaning difficulties.
- Enhances Comfort: Proper hardness contributes to more comfortable swimming conditions, reducing skin and eye irritation.
- Increases Longevity: By protecting the surfaces and equipment of your pool, you prolong their lifespan and reduce the frequency and cost of repairs.
In conclusion, understanding and managing calcium hardness is a critical component of effective pool maintenance. It not only helps in providing a pleasant swimming experience but also extends the life of your pool and its components. Regular testing, proactive adjustments, and informed choices will ensure that your pool remains a safe and enjoyable oasis for years to come.
Signs Your Pool Needs Higher Calcium Levels
The health of your pool depends significantly on calcium hardness levels, and recognizing when these levels are inadequate can save you from costly repairs and maintenance down the line. One of the most apparent signs that your pool needs higher calcium levels is the presence of etching or pitting on the surfaces of your pool. If you notice rough patches or areas that feel abrasive to the touch, it’s a clear indication that the water may be excessively aggressive, leaching calcium from the plaster or tile.
Another indicator of low calcium hardness is an increase in the frequency of water balance issues, such as fluctuating pH levels or increased chlorine demand. If you find yourself constantly adding chemicals to keep your water in check, it may be a symptom of low calcium, which disrupts the natural equilibrium of your pool chemistry. This misbalance can lead to long-term damage not only to the surfaces but also to the equipment, as corrosive water puts additional strain on pumps and heaters.
Additionally, paying attention to your water clarity is crucial. Water may start to appear cloudy, which is often a sign of improper calcium levels combined with other imbalances. High calcium levels can also lead to scaling-look for white, chalky deposits forming on tiles or edges, which can signify a different type of issue that arises from calcium being too high. Both scenarios underline the importance of regular monitoring and adjustment.
To proactively manage your pool’s calcium hardness, conduct regular tests using test strips or liquid kits to monitor calcium levels. If your readings fall below the recommended range of 200-400 ppm for plaster pools, it’s time to take action. Consider adding calcium chloride gradually, allowing the water to circulate effectively before retesting. This not only addresses the immediate issue but helps you maintain the longevity and aesthetics of your pool surfaces.
Step-by-Step Guide to Increasing Calcium Hardness
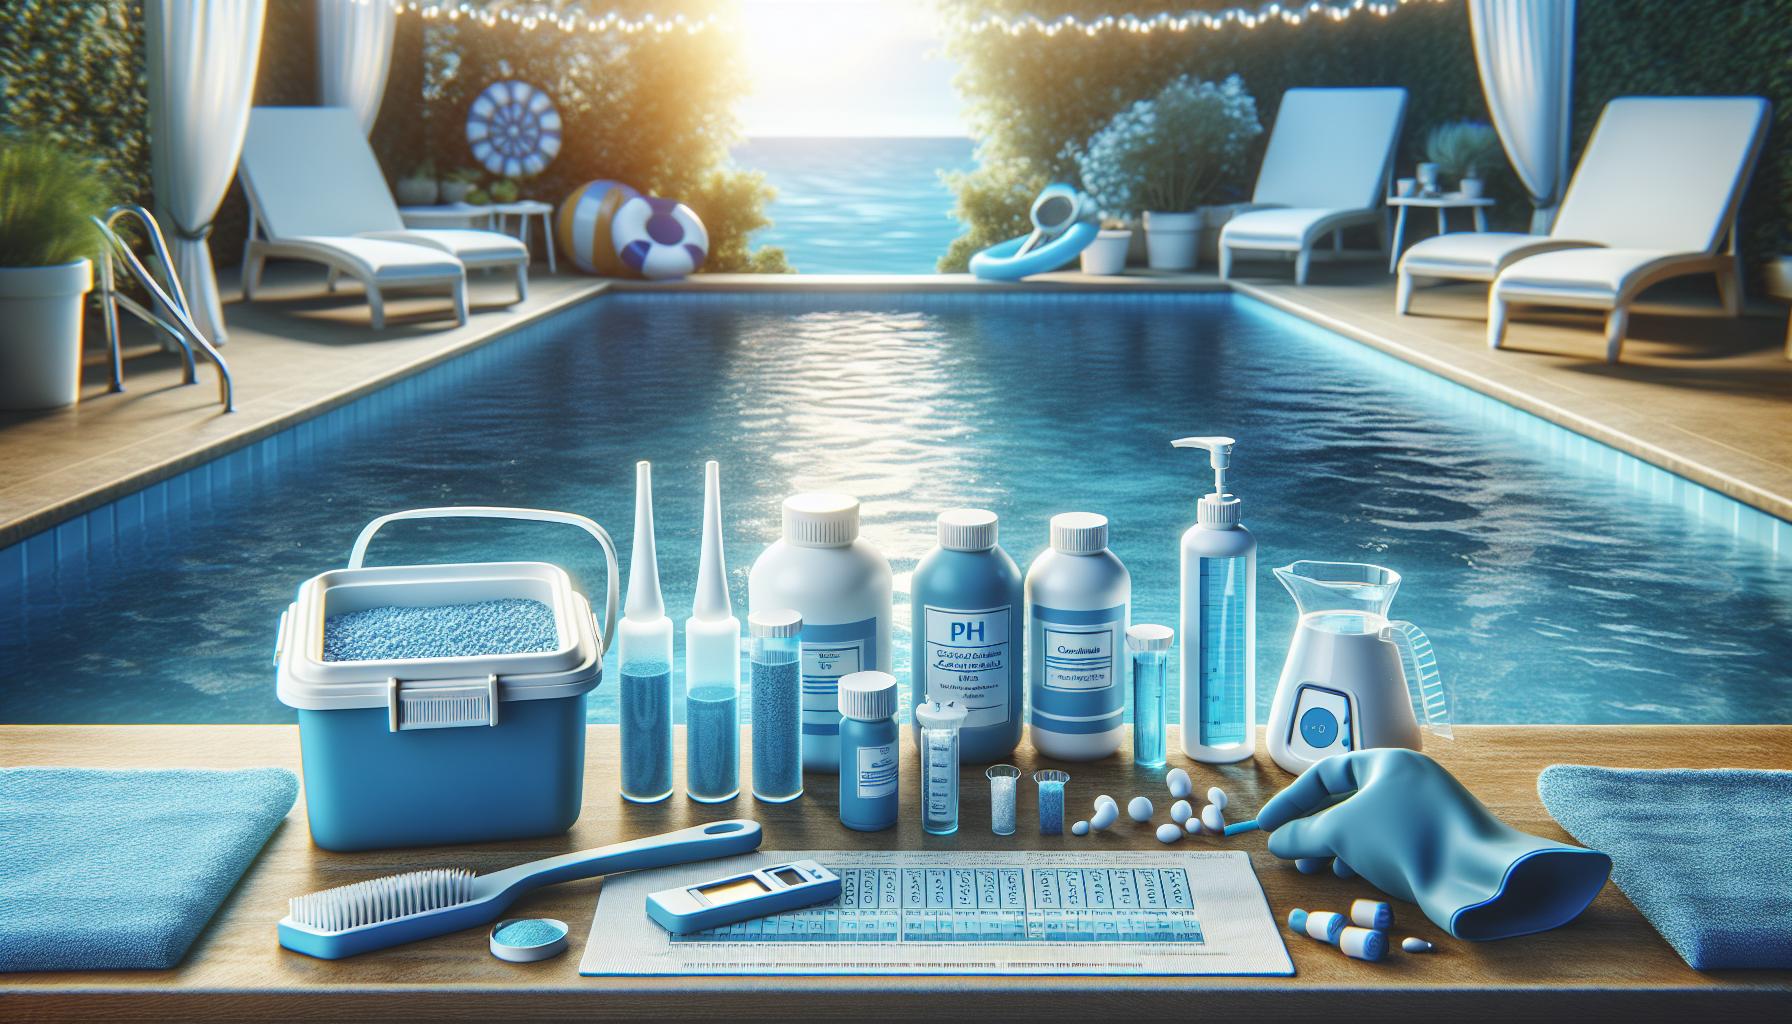
To maintain the integrity of your pool and protect its surfaces, understanding how to effectively increase calcium hardness is crucial. Low calcium levels can lead to significant issues, such as surface etching and equipment corrosion, making it essential to address any shortcomings promptly. Here’s a straightforward guide to help you raise calcium hardness in your pool effectively.
Begin by testing your pool water to determine the current calcium hardness level. A reliable test kit will allow you to measure calcium concentration accurately, with the ideal range for plaster pools generally falling between 200-400 ppm (parts per million). If your results indicate levels below this range, you need to act quickly.
Once you’ve confirmed low calcium levels, the next step is to decide on the appropriate product to raise hardness. Calcium chloride is commonly used for this purpose; it’s efficient and readily available at pool supply stores. To add calcium chloride to your pool, follow these steps:
Step-by-Step Process
- Calculate the Required Amount: Use a pool calculator to determine how much calcium chloride you need based on your pool size and the current hardness level.
- Add Gradually: Broadcast the calcium chloride evenly across the pool’s surface while the pump is running. This helps ensure that the chemical disperses evenly and does not settle in one area.
- Circulate and Retest: Allow the pool water to circulate for at least 4-6 hours before retesting the calcium hardness. This gives the chemical time to dissolve and mix thoroughly.
- Adjust If Necessary: If the results are still low, repeat the process, adding calcium chloride gradually until you achieve the desired level.
Remember, consistent monitoring is essential. You should test the calcium hardness levels regularly, ideally every month or so, especially during peak swimming seasons. Keeping the calcium hardness within the recommended range will not only enhance the overall water quality but will also extend the life of your pool surfaces and equipment.
Testing and Measuring Your Pool’s Calcium Levels
To maintain a healthy and inviting swimming pool, regular testing of calcium levels is essential. Calcium hardness plays a critical role in protecting your pool’s surfaces, preventing corrosion, and ensuring optimal water balance. Understanding how to measure and interpret your pool’s calcium hardness allows you to take immediate actions that can prevent costly repairs or maintenance issues down the line.
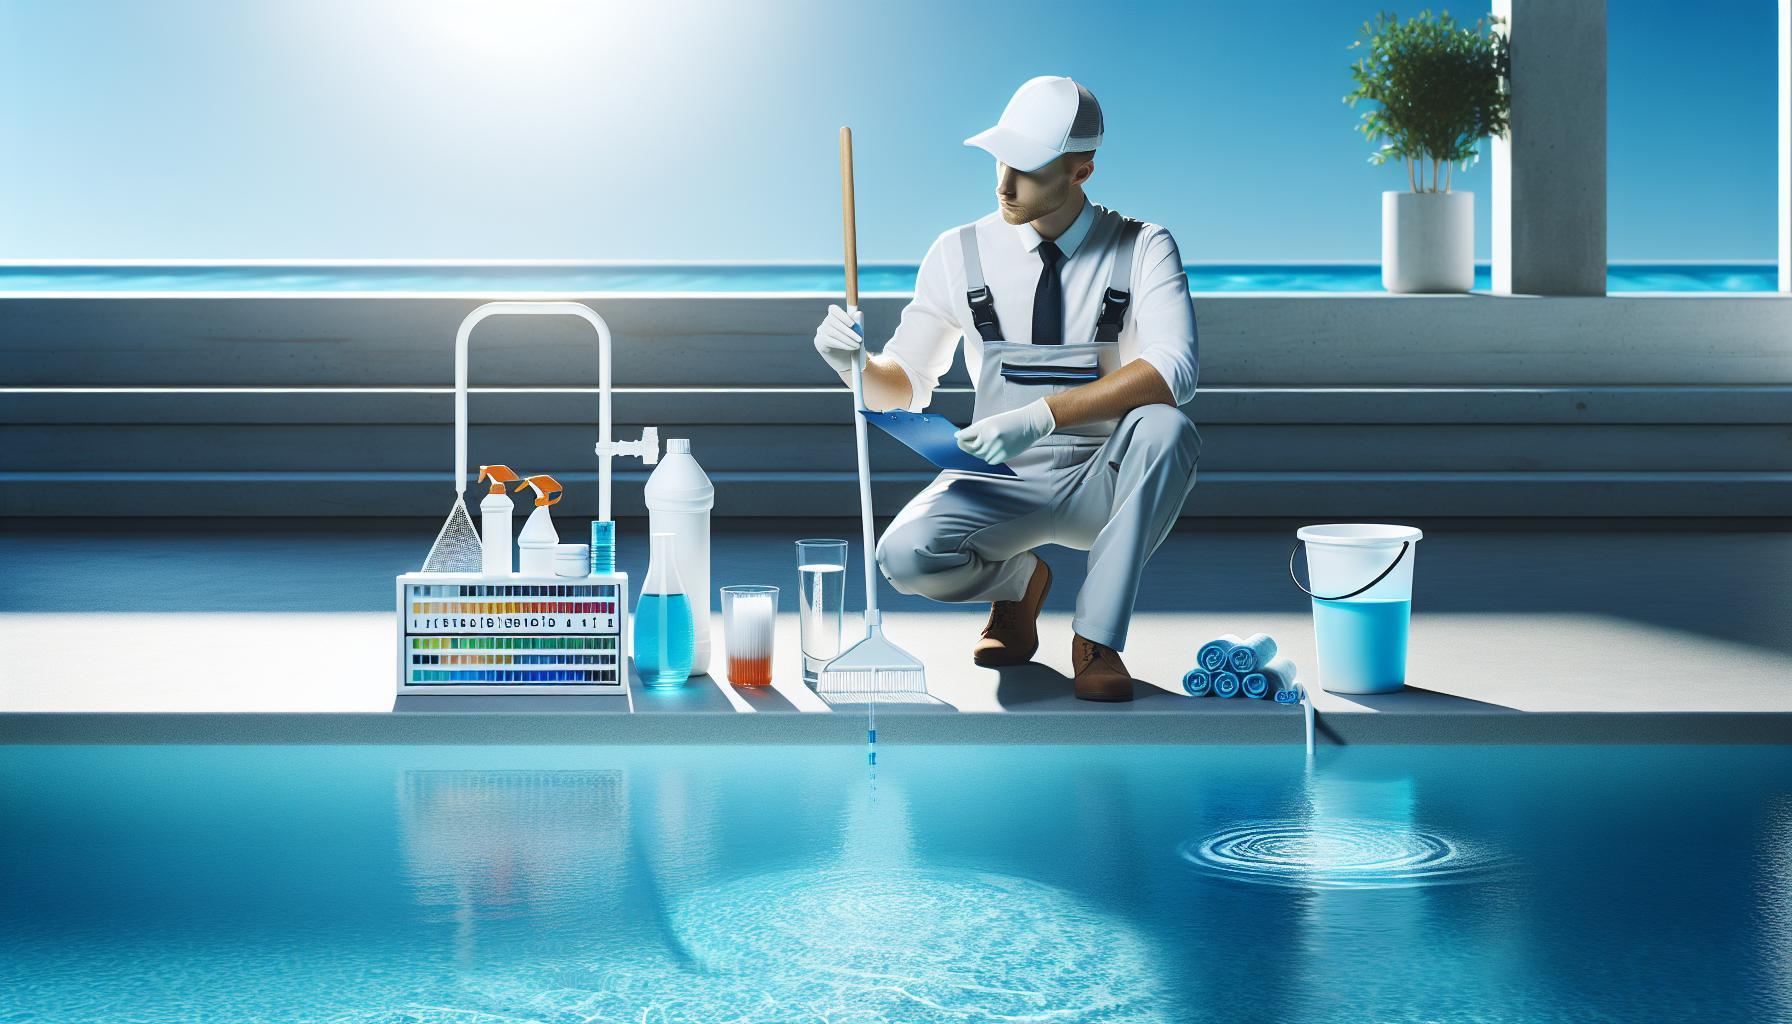
Begin by selecting a reliable test kit designed specifically for pool water analysis. Most test kits come with easy-to-follow instructions and can measure multiple parameters, including calcium hardness. When testing, collect a water sample from about 12 to 18 inches below the surface, as this area reflects the overall pool conditions more accurately. Follow the kit’s instructions precisely, adding the designated reagents and comparing color changes against the provided scale to determine the calcium hardness in parts per million (ppm). Ideally, calcium hardness for plaster pools should be maintained between 200-400 ppm.
If your initial test results show low calcium levels, be proactive. You can perform a series of tests over several days to confirm the results and check for consistency. It’s essential to regularly monitor calcium hardness, especially during the peak swimming season, as factors such as water evaporation, heavy rain, or even the addition of fresh water can affect calcium levels. Establishing a routine-testing water at least once a month-ensures you stay ahead of any potential issues that could impact your pool’s health and usability.
In cases where you discover low readings, swiftly take corrective action by adding a suitable calcium product, such as calcium chloride, to restore proper balance. Consulting your pool professional or referring to your test kit’s guidelines can help determine the precise amount needed based on your pool size and current baseline. By integrating these testing and monitoring practices into your regular maintenance schedule, you can safeguard your pool investment and enjoy a beautifully clear swimming area year-round.
The Best Calcium Products for Pool Maintenance
To ensure a healthy and well-balanced swimming pool, selecting the right calcium products is essential. Calcium hardness not only helps in preventing corrosion of pool surfaces but also plays a vital role in maintaining optimal water balance. Understanding the various options available can empower you to address calcium deficiency effectively, protecting your investment while creating a welcoming swimming environment.
One of the most commonly used products for increasing calcium hardness is calcium chloride. This compound is highly effective and available in both liquid and granular forms. When using calcium chloride, be sure to follow the manufacturer’s instructions for dosage based on your pool size. Generally, it’s recommended to dissolve the granules in a bucket of water before adding them directly to the pool to prevent localized high concentrations that could damage the pool surface. Applying it in the evening or when the pool is not in use can help distribute it evenly without overwhelming the system.
Another alternative is calcium carbonate, which is commonly used in scenarios where pH levels are also a concern. Besides raising calcium hardness, calcium carbonate can help to buffer pH levels, although it acts more slowly than calcium chloride. If your pool also exhibits lower pH levels, this might be a two-in-one solution. Always perform a thorough assessment of your pool’s chemistry before deciding on the best product to ensure compatibility and effectiveness.
When shopping for calcium products, quality matters. Look for reputable brands that offer products specifically designed for swimming pools. Maintaining a continuous supply of appropriate calcium levels can prevent issues such as cloudiness and scaling, leading to a clearer and more enjoyable swimming experience. Regularly monitoring your pool water using a reliable test kit is crucial for sustaining ideal calcium levels.
In line with safety, always store calcium products out of reach of children and pets, as they can be hazardous if ingested. Following these guidelines will not only enhance your pool’s longevity and aesthetics but also provide peace of mind, knowing you’re investing in the health and safety of your swimming space.
Safe and Effective Methods to Raise Hardness
To maintain a sparkling pool that’s both inviting and safe, understanding how to effectively raise calcium hardness is crucial. Calcium hardness prevents surface corrosion and extends the life of your pool equipment, making it a key aspect of pool maintenance. If you notice signs of low calcium levels, such as cloudy water or etching on pool surfaces, it’s time to take action. Here’s how to address this common issue with safe and effective methods.
One of the primary methods to increase calcium hardness is through the use of calcium chloride or calcium carbonate. Calcium chloride acts quickly and is available in both liquid and granular forms. When adding this compound, always dissolve the granules in a bucket of water first to avoid localized high concentrations that could harm your pool surfaces. It’s best to apply it during the evening or when the pool is not in use to promote even distribution. Alternatively, calcium carbonate is an effective option if you’re also dealing with low pH levels. This compound raises both calcium hardness and helps buffer the pH, making it a two-in-one solution.
Before you start, ensure to test your pool water with a reliable test kit to determine current calcium levels and establish how much needs to be added. Here are some steps to guide you through this process:
- Initial Testing: Use a trusted test kit to check calcium levels and note other parameters like pH and alkalinity, as these can affect how calcium behaves in your pool.
- Add Calcium Product: Based on your water test results, add the recommended amount of calcium chloride or calcium carbonate as per the manufacturer’s instructions.
- Distribute Evenly: Brush the pool surface and allow the pump to circulate the water to help disperse the addition more evenly.
- Retest: After 24 hours, reassess the calcium levels and make further adjustments if necessary.
In addition to these methods, it’s essential to monitor your pool’s chemistry regularly. Regular testing helps prevent significant fluctuations that could lead to scaling or other issues. Maintaining optimal calcium levels not only protects your pool surfaces but also provides a more enjoyable swimming experience. A consistent routine, combined with the right calcium products, sets you up for long-term success in pool maintenance.
By taking these proactive steps, you can ensure that your pool remains a safe and enjoyable space for everyone.
Impact of Low Calcium Hardness on Pool Surfaces
Low calcium hardness can lead to a myriad of problems for your pool surfaces, turning a pristine oasis into a costly maintenance headache. When the calcium levels drop too low, water becomes corrosive, which can lead to surface etching and deterioration of plaster-based materials. This not only affects your pool’s aesthetic appeal, leaving it looking worn and uninviting, but it can also diminish its overall structural integrity over time.
To combat these issues, it’s vital to recognize the immediate effects of low calcium hardness. For instance, you may notice a rough texture developing on the walls and floor of your pool, often resulting from the erosion of plaster. Over time, this roughness can provide a suitable breeding ground for algae, making your pool harder to clean and maintain. Moreover, low calcium levels can lead to issues with your pool equipment; the corrosive nature of the water can compromise fittings, pumps, and heaters, potentially leading to expensive repairs or replacements.
Addressing low calcium hardness should be a proactive measure in your pool maintenance routine. Start by testing your pool water regularly to monitor calcium levels, aiming to keep them within the ideal range of 200-400 mg/L. If your test results indicate lower levels, you can effectively increase hardness using calcium chloride or calcium carbonate. It’s recommended to add these products gradually and in conjunction with brushing the pool surface to promote even distribution. Regular monitoring after adjustments ensures that you maintain optimal levels and prevent recurrence of hardness issues.
In summary, staying ahead of low calcium hardness issues is key to preserving your pool surfaces and equipment. With routine testing, timely adjustments, and a consistent maintenance approach, you can keep your pool in top condition and ensure it remains a beautiful, safe environment for swimming. By prioritizing calcium levels, you not only extend the lifespan of your pool but also enhance your overall swimming experience.
Maintaining Optimal Calcium Levels Year-Round
To ensure the longevity and beauty of your pool, maintaining optimal calcium levels throughout the year is essential. Regular monitoring and adjustments can prevent the corrosive effects of low calcium hardness, safeguard your pool surfaces, and extend the life of your equipment. By making a few proactive changes to your maintenance routine, you can create a balanced environment that protects your investment while enhancing your swimming experience.
Begin with a routine testing schedule for your pool’s water chemistry, especially calcium hardness. Testing every couple of weeks during the swimming season and monthly in the off-season allows you to catch any fluctuations early. Utilize test kits or strips designed for pool water to measure calcium levels accurately, aiming for a range of 200-400 mg/L. When you notice calcium levels drifting below this range, it’s time to take corrective action. Quick actions include:
- Adding calcium chloride or calcium carbonate as necessary, following the manufacturer’s instructions.
- Brushing the pool surface after adding these chemicals to aid in even distribution and avoid scaling.
- Continuously running your pump for 24 hours post-application to enhance water circulation.
Environmental factors significantly impact calcium levels. Changes in temperature, rainfall, and the frequency of pool usage can alter water chemistry. For example, heavy rainfall can introduce fresh water that dilutes calcium concentrations. Thus, adjusting your maintenance routine based on seasonal variations is beneficial. In winter, consider reducing pool usage and checking calcium levels less frequently, but be vigilant in spring as temperatures rise and pool activity resumes.
Moreover, keep an eye on your pool’s pH and alkalinity, as these factors interact closely with calcium hardness. An optimal pH of 7.4 to 7.6 ensures that calcium stays in solution and does not precipitate out of the water. Regularly test and adjust pH with appropriate chemicals to maintain this balance.
By adopting these practices and staying informed about your pool’s needs, you can maintain optimal calcium levels year-round, creating a safe and enjoyable swimming environment while protecting your pool surfaces from long-term damage.
Common Mistakes When Adjusting Calcium Hardness
When adjusting calcium hardness in your pool, one of the most common pitfalls owners encounter is overcompensation. Many believe that dumping in a large dose of calcium chloride or calcium carbonate will quickly elevate their levels, but this can lead to oversaturation and create more problems than it solves. A sudden spike in calcium levels can cause scaling on pool surfaces and clogging in filters, ultimately necessitating even more rigorous maintenance to resolve. Instead, it’s essential to approach adjustments methodically, adding smaller amounts of calcium incrementally and re-testing the water chemistry frequently to achieve a balanced result.
Another frequent mistake is failing to account for other water chemistry factors when adjusting calcium hardness. The relationship between pH, alkalinity, and calcium is intrinsic. For instance, if the pH is too high or too low, calcium can either precipitate out of solution or become unstable, leading to erratic hardness levels. Therefore, it’s vital to test and adjust the pH levels to a range between 7.4 to 7.6 before or during calcium adjustments. Ensuring that alkalinity is also properly balanced can support stable calcium levels and contribute to the overall health of your pool water.
Additionally, neglecting regular maintenance and checks can lead to larger issues down the line. Waiting too long between tests can allow for drastic fluctuations in chemical levels that are more difficult to correct. Implementing a consistent testing schedule, covering calcium hardness and other key metrics, empowers pool owners to address imbalances before they become major concerns. Take the initiative to perform these tests at least every couple of weeks during peak pool usage times, so you can catch any swings in chemistry early.
Lastly, many pool owners overlook the importance of brushing their pool surfaces after adding calcium products. Brushing helps to evenly distribute the chemicals throughout the water, ensuring a uniform increase in calcium levels and preventing localized scaling or cloudy water. By adopting a habit of brushing post-application, you’ll not only help dissolve any settled particles but also maintain the overall cleanliness and appearance of your pool. Consider these actionable insights as you navigate the essential task of adjusting your pool’s calcium hardness, and you’ll enhance the longevity and enjoyment of your swimming experience.
How pH and Alkalinity Affect Calcium Levels
Maintaining the right balance of pH and alkalinity in your pool isn’t just a matter of aesthetics; it directly influences calcium levels, which are essential for protecting your pool’s surfaces. When pH levels fluctuate outside the optimal range of 7.4 to 7.6, it can affect how calcium behaves in the water. For instance, if the pH is too high, calcium may precipitate out, leading to cloudy water and potential scaling on surfaces. Conversely, when pH is too low, calcium can become unstable and erode pool surfaces or equipment.
It is crucial to understand the interconnectedness of pH, alkalinity, and calcium. Alkalinity serves as a buffer for pH changes, stabilizing your water chemistry. If alkalinity is low, pH can swing dramatically with even small additions of chemicals, which can then lead to erratic calcium levels. To maintain stable conditions, your alkalinity should typically be within the range of 80 to 120 ppm. Regular testing can ensure that both pH and alkalinity are within their desired ranges, allowing calcium to remain dissolved and effective.
To adjust and balance your pool’s pH and alkalinity effectively, take the following steps:
- Test Regularly: Use a reliable test kit or strips to check pH and alkalinity at least every week, especially during peak swimming seasons.
- Make Incremental Adjustments: When adjusting pH, use pH increasers or decreasers gradually, following the manufacturer’s instructions. This approach helps prevent drastic changes that could destabilize calcium levels.
- Monitor Calcium Hardness: Aim to keep calcium hardness in the range of 200-400 ppm. Test this alongside pH and alkalinity to understand the complete picture of your water chemistry.
- Brush the Pool: After any chemical adjustments, brush the sides and bottom of the pool to help distribute chemicals evenly and avoid localized scaling.
By keeping a close eye on these factors and making adjustments methodically, you can ensure that your pool remains protected from the adverse effects of calcium fluctuation, leading to a longer-lasting, healthier pool environment.
Preventing Calcium Scale Buildup in Pools
To keep your pool sparkling and inviting, managing calcium scale buildup is crucial. Calcium scale not only affects the aesthetics of your pool, leading to cloudy water and unsightly deposits, but it can also damage surfaces and equipment if left unchecked. The good news is that with consistent monitoring and preventive measures, you can significantly reduce the risk of scale formation.
One of the first steps in preventing calcium scale is maintaining balanced water chemistry. Regular testing of calcium hardness, pH, and alkalinity is essential. Aim for a calcium hardness level between 200-400 ppm. If you notice that calcium levels are rising, it’s vital to take corrective action immediately. This includes lowering the pH if it exceeds 7.6, as high pH levels can lead to calcium precipitation-a key factor in scale buildup.
Practical Strategies to Prevent Scale Buildup
- Monitor Water Hardness: Use a reliable test kit weekly to check your pool’s calcium hardness level. Adjustments should be made if readings creep up, to prevent crystallization.
- Regular Flushing: If you have a saltwater pool, consider flushing the system regularly to remove any excess calcium. This practice replenishes water and helps maintain balanced levels.
- Use Scale Inhibitors: Incorporating a scale inhibitor chemical program can help impede calcium from precipitating out of the solution. These effective products can be found at pool supply stores.
- Brush Your Pool: Brush your pool surface regularly, focusing on areas prone to scale deposits. This action helps dislodge early-stage scale before it can form hard deposits.
- Control Water Temperature: Be mindful of your pool temperature; higher temperatures can increase calcium solubility but may also encourage scaling under certain conditions. Keeping the water in the ideal range (ideally below 85°F) can help manage this risk.
By implementing these strategies, you empower yourself to combat prolonged calcium scale issues effectively. A well-maintained pool not only enhances your swimming experience but also extends the life of your pool surfaces, saving you time and money on repairs in the long run.
Expert Tips for Long-Term Pool Surface Protection
To maintain the health and longevity of your pool surfaces, proactive measures should be part of your regular maintenance routine. Just as you wouldn’t neglect your home’s roof or plumbing, your pool deserves the same level of attention to prevent costly repairs down the line. Properly managed calcium levels not only enhance water clarity but also safeguard surfaces from erosion and staining, providing a continuously inviting swimming environment.
Begin by establishing a routine of thorough inspections on your pool surfaces at least once a month. Look for any early signs of damage or scaling. Regular brushing is indispensable; it helps remove debris and prevents the buildup of calcium deposits that can compromise surface integrity. Focus on corners and steps, where scaling is more likely to accumulate. For best results, use a durable pool brush and gently scrub surfaces at least once a week.
Incorporating calcium hardness testing into your weekly maintenance is crucial. Aim to keep your calcium hardness in the optimal range of 200-400 ppm-this balance protects surfaces from both scaling and corrosion. If you discover that levels are off, act swiftly. Adding calcium chloride can be an effective measure for raising hardness levels. Consider also using a reputable testing kit to ensure accurate readings.
Additional Strategies for Surface Protection
- Consider a Protective Pool Cover: During off-seasons or heavy rains, using a cover can prevent debris buildup and minimize the need for cleaning, thus protecting your surfaces.
- Implement pH Monitoring: High or low pH levels can adversely affect pool surfaces, leading to etching or scale formation. Regularly test and adjust your pool’s pH to stay within the 7.2-7.8 range.
- Utilize Quality Pool Chemicals: Invest in high-grade chemicals designed for pool maintenance. Look for those providing scale control and protecting against corrosion.
- Hydrate Wisely: Be mindful of source water quality. Filling your pool with hard water can exacerbate calcium buildup issues; consider using water softeners as necessary.
By following these expert recommendations, not only will you promote the long-term health of your pool surfaces, but you will also enhance the overall enjoyment of your pool throughout the seasons. A commitment to consistent care leads to a vibrant, safe swimming oasis for family and friends.
Frequently asked questions
Q: How can I test the calcium hardness in my pool?
A: You can test the calcium hardness in your pool using a water testing kit specifically designed for pools. These kits include reagents that measure calcium levels. Follow the instructions provided with the kit and compare the results to the recommended levels in the article’s section on testing and measuring your pool’s calcium levels.
Q: What causes low calcium hardness in pools?
A: Low calcium hardness in pools can be caused by water dilution from rain, splash-out, or water leaks. Additionally, the use of certain chemicals, such as chlorine tablets, and high evaporation rates can lower calcium levels. Regular testing can help detect these changes early.
Q: When should I increase calcium levels in my pool?
A: You should consider increasing calcium levels in your pool when tests indicate levels below 200 ppm (parts per million). This is crucial for protecting your pool surfaces and avoiding issues like etching or corrosion. Refer to the article’s signs that your pool needs higher calcium levels for more details.
Q: What are the best products to increase calcium hardness in pools?
A: The best products to increase calcium hardness in pools include calcium chloride and calcium sulfate. These additives are effective and easily available at pool supply stores. Check the article’s section on the best calcium products for specific recommendations and dosage instructions.
Q: How does low calcium hardness affect my pool surfaces?
A: Low calcium hardness can lead to etching and corrosion of pool surfaces, which can damage plaster, fiberglass, and tile. This degradation can result in costly repairs, making it essential to maintain adequate calcium levels. Learn more about the impact of low calcium hardness in your pool surfaces in the article.
Q: Can I increase calcium hardness without affecting pH levels?
A: Yes, you can increase calcium hardness with minimal impact on pH levels by using calcium chloride, which has a neutral pH. However, it’s essential to monitor both pH and alkalinity after adding any chemicals. For more on balancing pH and alkalinity, check the article’s relevant section.
Q: Why is maintaining balanced calcium hardness important year-round?
A: Maintaining balanced calcium hardness is crucial year-round to prevent damage to pool surfaces and equipment. Fluctuating calcium levels can lead to scaling or etching, making it vital to regularly check and adjust calcium hardness to keep your pool healthy. See the article for tips on maintaining optimal levels.
Q: Is calcium buildup harmful to my pool?
A: Yes, calcium buildup, or scaling, can be harmful as it creates rough surfaces that can harbor algae and bacteria. Regular maintenance and monitoring of calcium levels are essential to prevent scaling and protect pool surfaces effectively. For strategies to prevent calcium scale buildup, refer to the article’s section on maintenance.
To Conclude
By increasing the calcium hardness in your pool, you not only protect your pool surfaces from damage but also enhance water clarity and comfort. Don’t wait for signs of trouble-act now to maintain optimal water balance and preserve your investment! For those looking to dive deeper into pool maintenance, explore our “A Beginner’s Guide to Pool Maintenance” for essential tips on keeping your water pristine or check out our “Pool Maintenance Checklist” to streamline your routine.
Remember, maintaining appropriate calcium levels is just one piece of the puzzle. If you’re interested in improving your pool’s water chemistry further, consider signing up for our newsletter for regular insights and expert advice. Join the conversation by sharing your experiences below or connecting with other pool owners. Protect your pool and enjoy a refreshing swim year-round!

