Maintaining clear, safe pool water is essential for enjoying your backyard oasis during the warmer months. One of the most critical components of pool care is knowing how much liquid chlorine to add, as proper dosage not only ensures sanitation but also protects your equipment and swimmer’s health. Adding too little can lead to algae growth, while too much can irritate skin and eyes.
Navigating the dos and don’ts of chlorine application can be daunting, but understanding the right measurements empowers you to tackle pool maintenance confidently. With precise dosage tips, you can effortlessly maintain sparkling water, creating a welcoming environment for family and friends. Dive into our guide to discover how to achieve the ideal chlorine balance for your pool, ensuring safe swims all season long!
Understanding the Importance of Liquid Chlorine in Pools
When it comes to maintaining a clean and inviting pool, understanding the role of liquid chlorine is crucial. This effective pool chemical not only kills harmful bacteria and algae but also helps in keeping your water crystal clear and safe for swimming. What sets liquid chlorine apart is its fast-acting formula, delivering an immediate impact on water quality, making it a preferred choice for many pool owners, especially during hot summer months when demand for sanitation is higher.
Liquid chlorine is typically available in high concentrations, often around 12.5%, delivering a powerful punch against contaminants in your pool. Its ability to dissolve quickly means that it can be used for both routine maintenance and emergency shock treatments to handle unexpected cleanliness challenges. For those looking to achieve precise dosing, it’s vital to consider factors such as your pool’s size, the current chlorine level, and water temperature. Doing so enables you to administer the right amount, ensuring optimal sanitation without over-chlorinating, which can lead to skin irritation for swimmers and chemical imbalances.
Utilizing liquid chlorine requires a methodical approach. To ensure safety and effectiveness, always wear gloves and goggles when handling it, and measure your doses accurately using a calibrated container. As you add the chlorine to your pool, distribute it evenly to prevent localized concentrations that could disrupt the balance of your pool chemistry. Observing your pool regularly and using test strips to check chlorine levels will help you determine when to add more and how much is necessary. By adopting these practices, you can maintain a healthy swimming environment for family and friends to enjoy throughout the season.
Key Factors That Influence Chlorine Dosage
The amount of liquid chlorine you need to add to your pool is not a one-size-fits-all measurement; it hinges on several critical factors. Understanding these influences allows you to maintain optimal water quality without the risk of over-chlorination, which can lead to swimmer discomfort and other complications.
One of the most significant factors is your pool’s current chlorine level, which can be affected by various elements such as usage frequency, weather conditions, and organic contaminants like leaves and dirt. Regularly testing your water with reliable test strips or a liquid test kit provides you with the necessary data to make informed decisions on chlorine additions. For instance, if a heavy rainstorm or pool party has raised demand on your sanitation levels, your pool may require a greater dose of chlorine to return to a safe level.
Additionally, pool size plays a crucial role in determining how much chlorine to add. Larger pools, of course, will need more chlorine than smaller ones. Calculating your pool’s volume in gallons will help you gauge the required chlorine dosage more accurately. Generally, a good rule of thumb is to use 1 gallon of chlorine for every 10,000 gallons of water to raise the chlorine level by 10 ppm (parts per million).
Environmental Factors
Other influencing factors include environmental conditions such as sunlight exposure and water temperature. UV rays from the sun can degrade chlorine rapidly, often leading to increased chlorine demand during sunny days. Warmer water temperatures can also necessitate higher chlorine levels, since warmer conditions can promote algae growth. Therefore, during the peak of summer or after significant rainfall, you should proactively monitor and adjust your chlorine levels to keep your pool balanced.
By being aware of these factors and measuring diligently, you can ensure your pool remains a safe and inviting place for enjoyment. Regular and precise dosage adjustments not only safeguard swimmers but also enhance the overall health of your pool system.
Calculating Pool Volume for Accurate Chlorine Adding
To achieve optimal water quality in your pool, understanding the volume of water it holds is crucial for calculating the precise amount of liquid chlorine required. Knowing the size of your pool allows you to tailor chlorine dosages, ensuring that your pool remains clean and safe for swimmers without the risk of over-chlorination. An often-overlooked step in pool maintenance is this calculation, which serves as the foundation for all your sanitization efforts.
Start by measuring the dimensions of your pool. You’ll need to gauge the length, width, and depth. For rectangular or square pools, the calculation is relatively straightforward:
- Volume in gallons = Length (ft) × Width (ft) × Average Depth (ft) × 7.48
For round pools, the formula changes slightly:
- Volume in gallons = (Diameter (ft) / 2)² × π × Average Depth (ft) × 7.48
If your pool has an irregular shape, break it down into smaller sections, calculate the volume of each, and then sum them up. The average depth can be calculated by adding the shallow and deep ends together and dividing by two. Accurate measurements will help you determine how much chlorine to add according to the necessary dosage.
Once you have your pool’s volume calculated, the next step is to apply the correct chlorine dosage. A general guideline is that adding 1 gallon of liquid chlorine will raise the chlorine level by about 10 ppm for every 10,000 gallons of water. For instance, if your pool holds 20,000 gallons, you would typically need 2 gallons of chlorine to achieve that increase.
Using this calculated volume not only assists in maintaining proper sanitization levels but also helps to prevent issues related to chlorine imbalance, such as irritation to eyes and skin, and cloudy water. Regularly recalculating your pool volume after major renovations or if you notice significant water loss (due to evaporation or splashing) will further ensure the ongoing health of your pool. Keeping these calculations in mind will empower you to maintain a pristine swimming environment effectively and confidently.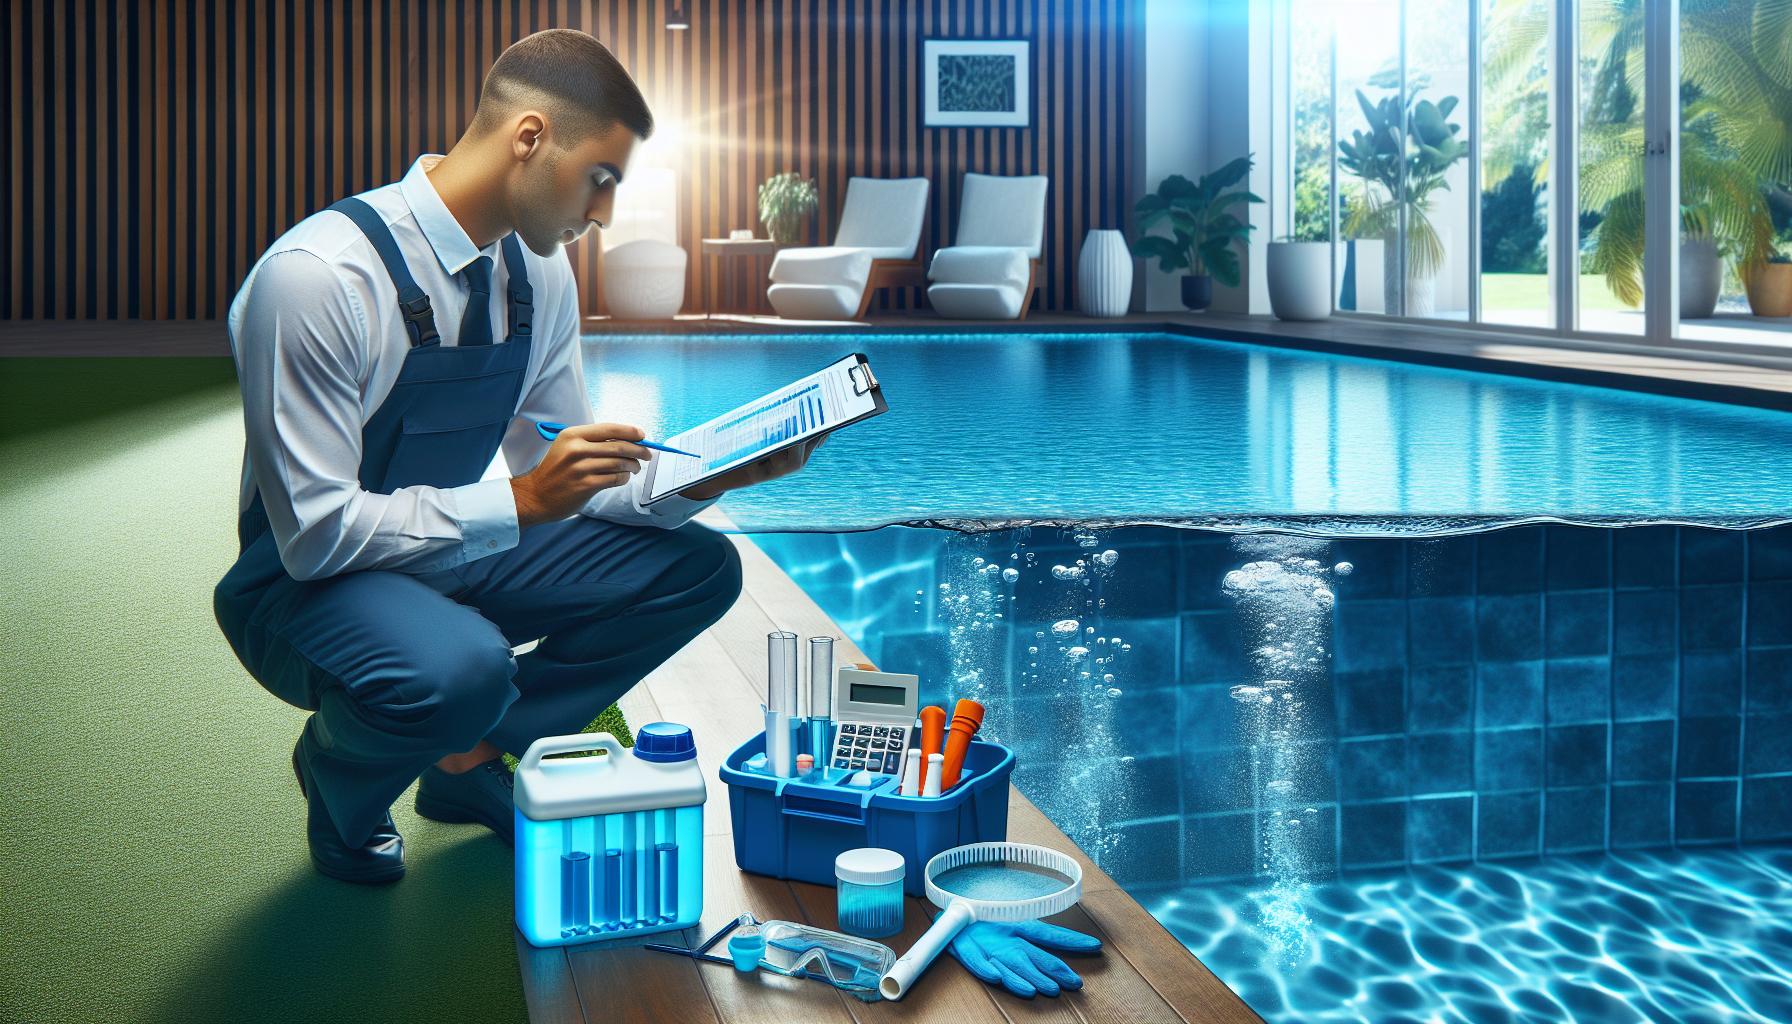
Step-by-Step Guide to Measuring Liquid Chlorine
To effectively manage your pool’s sanitation, knowing how to measure and add liquid chlorine is critical. Liquid chlorine is a powerful sanitizer that can quickly kill harmful bacteria and algae, but its precise application is essential for maintaining balanced water chemistry. Here’s a straightforward guide to ensure you’re measuring liquid chlorine accurately for optimal pool care.
Start by gathering the necessary tools. You will need a measuring cup or graduated container, a pair of gloves for safety, and, optionally, goggles to protect your eyes from splashes. Before handling liquid chlorine, it’s crucial to read the safety instructions on the label as this product can be hazardous if improperly used.
Next, consult your calculated pool volume to determine the correct dosage of liquid chlorine. A common rule of thumb is that adding 1 gallon of liquid chlorine will raise the chlorine level by approximately 10 parts per million (ppm) for every 10,000 gallons of water. Suppose you have a 15,000-gallon pool. In this case, you would need approximately 1.5 gallons of liquid chlorine to achieve that target. Remember to consider factors like pool temperature, sunlight exposure, and the number of swimmers, which can all affect chlorine demand.
Once you’ve determined the appropriate amount of liquid chlorine, carefully measure it using your container. Pour the liquid chlorine into a clean bucket filled with water-never add water to chlorine-as this can cause a dangerous reaction. Mix it gently before adding the solution around the perimeter of the pool. Dispersing it in this manner helps avoid concentrated clumps of chlorine that can harm pool surfaces or create irritation for swimmers.
After you’ve added the chlorine, allow the pool’s circulation system to run for several hours to ensure even distribution. Finally, retest your pool water after 24 hours to confirm that it is within the recommended chlorine range of 1 to 3 ppm. Regular monitoring and adjustments will help maintain a safe and inviting swimming environment. Remember, proactivity in your pool maintenance will not only enhance water quality but also extend the lifespan of your pool equipment.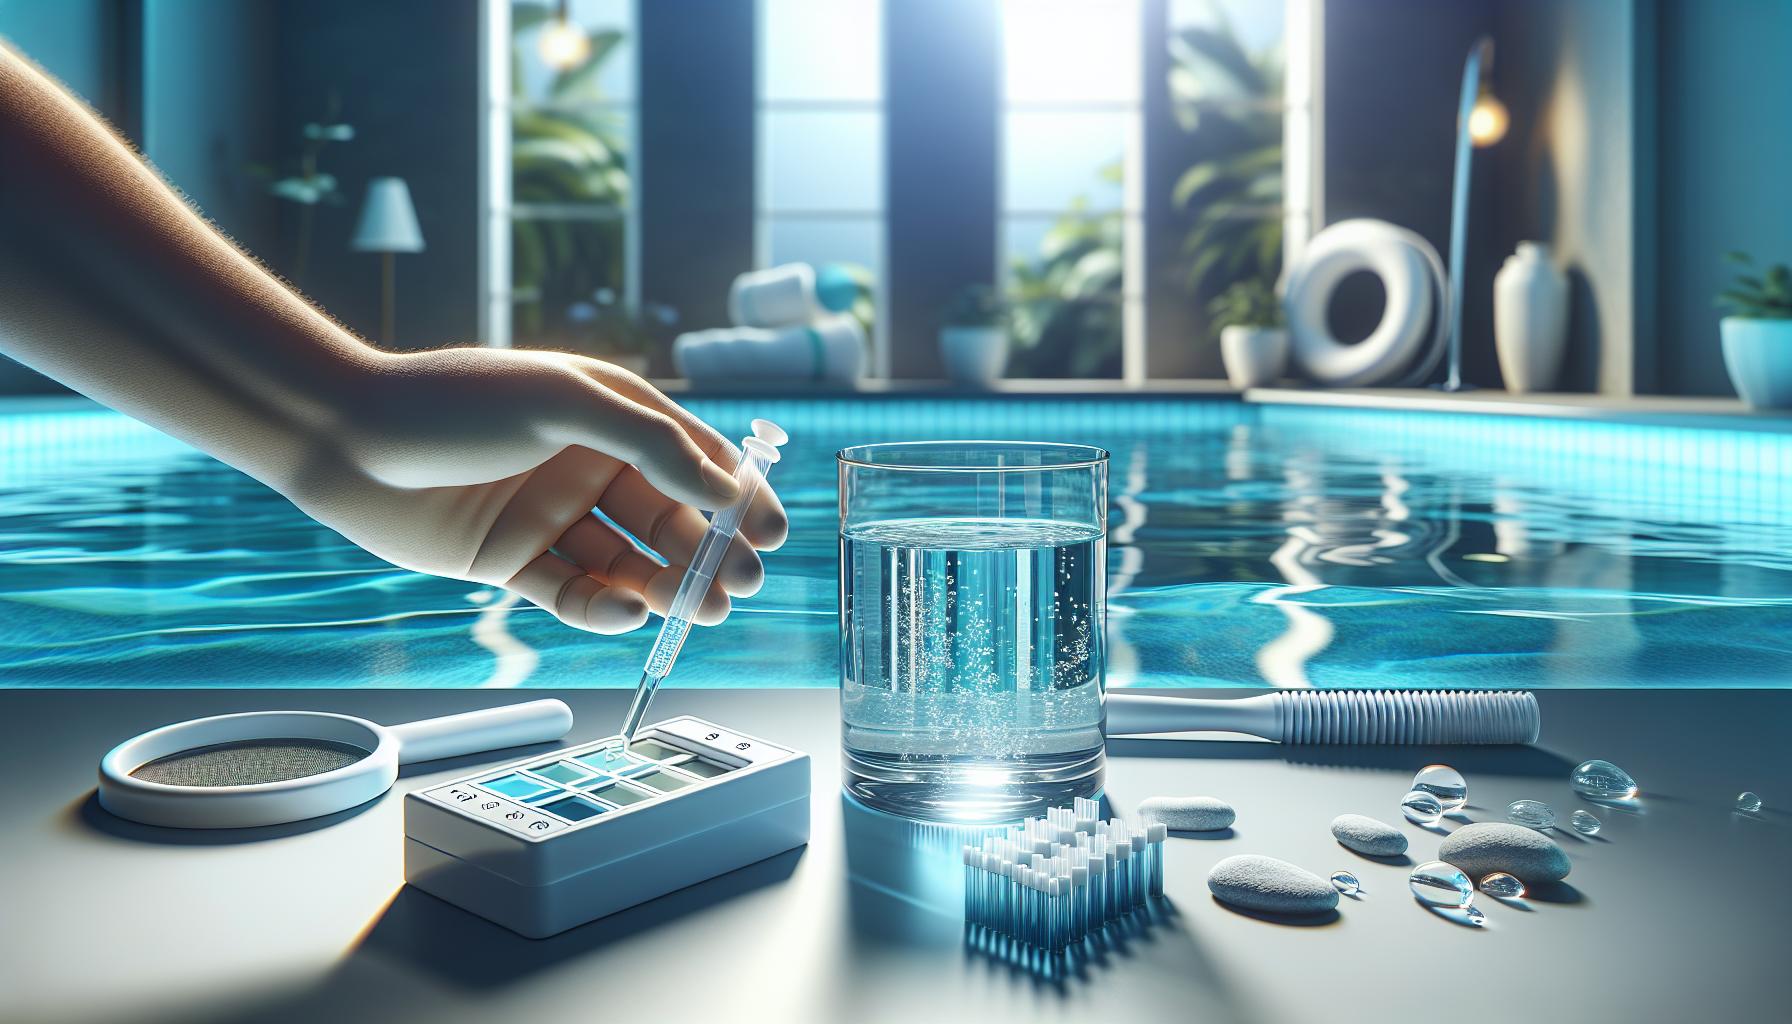
How to Safely Add Liquid Chlorine to Your Pool
Adding liquid chlorine to your pool is a crucial step in maintaining a safe and inviting swimming environment. However, it’s important to approach this task with care and precision to ensure both safety and effectiveness. Liquid chlorine is a strong oxidizer, which means that if not handled correctly, it can lead to hazardous situations. Here’s a set of straightforward guidelines to help you safely and effectively add liquid chlorine to your pool.
Start by gathering safety gear and the right tools for the task. You will need chemical-resistant gloves and goggles to protect your skin and eyes from potential splashes. Use a measuring cup or a graduated container designed for liquids to ensure accurate measurements. Before handling, always read the label on the chlorine container to be aware of any specific safety instructions or precautions.
When you’re ready to add chlorine, first calculate the amount needed based on your pool’s volume. As a general rule, adding one gallon of liquid chlorine can raise the chlorine level by about 10 parts per million (ppm) for every 10,000 gallons of water. Once you’ve calculated the necessary dosage, carefully measure out the liquid chlorine. Remember to never pour water into chlorine, as this can cause a dangerous reaction; instead, pour the liquid chlorine into a clean bucket filled with water. Gently mix it to dilute the chlorine before introducing it to the pool.
Next, walk around the perimeter of the pool while slowly pouring the diluted chlorine solution into the water. This helps disperse the chlorine evenly and prevents the formation of concentrated spots, which can harm pool surfaces and cause skin irritation for swimmers. After adding the chlorine, allow your pool’s filtration system to run for several hours to ensure thorough mixing. Always retest the water after 24 hours to confirm that the chlorine level is within the safe range of 1 to 3 ppm.
By following these steps, you can confidently manage your pool’s sanitation process and maintain a healthy swimming environment. With a bit of preparation and attention to safety, adding liquid chlorine becomes a simple part of your routine pool maintenance.
Signs Your Pool Needs More Chlorine Immediately
A clean and properly balanced swimming pool is essential for both safety and enjoyment, and one of the most critical indicators of your pool’s health is the chlorine level. Recognizing the signs that your pool needs more chlorine can prevent the growth of harmful bacteria and algae, ensuring a safe swimming environment. If your pool water looks cloudy, has an unpleasant odor, or if swimmers experience skin irritation, it’s a signal that your chlorine levels may be inadequate and require immediate attention.
Key Indicators of Low Chlorine Levels
- Cloudy Water: Cloudiness often signals that bacteria or algae are present, which can thrive when chlorine levels drop.
- Pungent Odors: A strong chemical smell can indicate chloramine buildup, a result of combined chlorine that forms when free chlorine interacts with organic substances. High levels of chloramines suggest that you need to shock the pool with additional chlorine.
- Skin and Eye Irritation: If swimmers notice increased skin or eye irritation, it might mean that the chlorine is insufficient to keep the water sanitized.
- Algae Growth: Whether it’s green, yellow, or black algae, any visible algae in the pool indicates that your chlorine levels are not adequate to prevent its growth.
To effectively address low chlorine levels, regularly test your pool water at least once a week, or more frequently in heavy usage periods. A test kit will give you the current levels of free chlorine, combined chlorine, and total chlorine, helping you determine how much liquid chlorine is necessary to bring your levels back to a safe range of 1 to 3 ppm. In cases of noticeable problems, it may be wise to add an immediate shock treatment of chlorine, typically around 3 to 5 times the normal dosage, depending on the severity of the issue.
By being vigilant and responsive to these signs, pool owners can maintain a safe and pleasant swimming environment throughout the season. Regular monitoring and quick action are key to preventing larger problems and ensuring that the pool remains an inviting retreat for family and friends.
Common Mistakes When Adding Chlorine to Pools
Adding chlorine to your pool may seem straightforward, but many pool owners inadvertently make common mistakes that can compromise water quality and safety. One of the most frequent errors is improper measurement of chlorine. Pool chemistry is delicate, and even a small miscalculation can lead to insufficient sanitation or excessive chlorine levels, both of which can be harmful. Always make use of a reliable test kit to determine the current chlorine levels before adding more, and always follow dosage instructions carefully based on your specific pool size.
Another common pitfall is not allowing time for the chlorine to disperse properly. After adding liquid chlorine, it’s crucial to let the pool pump circulate the water effectively for several hours. Many may be tempted to jump in right after adding chlorine, but this can lead to skin irritation or other adverse effects due to concentrated chlorine in specific areas. Allowing time for even distribution is essential in ensuring that all areas of the pool receive the proper treatment.
Additionally, some owners mistakenly add liquid chlorine directly to the skimmer instead of dispensing it into the pool itself. This practice can damage pool equipment because the concentrated chlorine mixes with the water in the skimmer, not giving sufficient time to dilute. Instead, pour the liquid chlorine directly into the pool, preferably in front of a running return jet for better mixing.
Taking the time to review and adjust your chlorine addition practices can significantly enhance your pool maintenance routine. By avoiding these common mistakes, you ensure a cleaner and safer swimming environment, making it a more enjoyable experience for everyone.
Alternative Chlorine Options: Liquids vs. Tablets
When it comes to maintaining a clean and safe swimming pool, selecting the right chlorine type is crucial. Pool owners frequently weigh the benefits and drawbacks of liquid chlorine vs. tablet chlorine, as each offers unique advantages tailored to different needs. Liquid chlorine, typically sodium hypochlorite, is known for its fast-acting properties, making it ideal for situations requiring immediate sanitation. It can be directly added to the pool and distributed quickly, often revitalizing water conditions within hours.
On the other hand, chlorine tablets, usually made from trichloroisocyanuric acid (TCCA), provide a convenient and continuous release of chlorine over a more extended period. This gradual dissolution makes tablets a popular choice for long-term maintenance while requiring less frequent handling. Designed for use in automatic chlorinators or floating dispensers, tablets simplify the chlorine addition process and help stabilize chlorine levels.
Key Considerations When Choosing Chlorine
Both types of chlorine have specific usage scenarios that can influence your choice:
- Speed of Action: If you need to quickly address water clarity or sanitation after heavy pool use or rain, liquid chlorine will raise levels rapidly.
- Convenience: Tablets allow for hands-off maintenance, making them suitable for pool owners who prefer a low-maintenance approach.
- pH Levels: Liquid chlorine tends to raise the pH level more than tablets, which can be a consideration for managing overall pool chemistry.
- Cost-Effectiveness: Liquid chlorine is often more economical in larger quantities, particularly useful for commercial pools or extensive residential setups.
Understanding these nuances can help pool owners make an informed decision on which chlorine type aligns best with their maintenance routines and pool usage, ensuring that water quality remains at optimum levels throughout the swimming season.
Maintaining Proper Chlorine Levels Year-Round
To enjoy a sparkling clean pool year-round, maintaining proper chlorine levels is non-negotiable. Did you know that inconsistent chlorine levels can lead not only to algae blooms but also to skin irritations and cloudy water? This is why regular monitoring and adjustment of your pool’s chlorine concentration are essential for both safety and aesthetics.
One of the most effective strategies for keeping chlorine levels stable is to establish a consistent testing routine. Use a reliable test kit or strips to check your chlorine levels at least twice a week, increasing frequency during peak usage times or after periods of heavy rain. Ideally, your free chlorine level should be maintained between 1 to 3 parts per million (ppm). If your readings are low, adding liquid chlorine will quickly restore balance. Keep a log of your readings to identify trends and anticipate when adjustments may be necessary.
When it comes to adding liquid chlorine, timing is key. The best practice is to apply chlorine in the evening or at night, as UV rays from the sun can quickly degrade chlorine, diminishing its effectiveness. Make sure to distribute the liquid evenly across the pool while the pump is running to promote thorough mixing. If your pool experiences heavy use or adverse weather conditions, you may need to increase chlorine levels proactively to counteract any potential drop.
Another proactive approach is to maintain appropriate stabilizer levels, such as cyanuric acid, which protects the chlorine from sun degradation and extends its lifespan in the pool. Keeping cyanuric acid between 30 to 50 ppm can greatly enhance chlorine efficiency.
Lastly, regular maintenance tasks such as cleaning pool filters, skimming debris, and brushing walls will help reduce the organic load in your pool, allowing your chlorine to work more effectively. By establishing these consistent practices, you can confidently enjoy your pool without the worry of chemical imbalances, ensuring safe and pleasant swimming conditions throughout the year.
Troubleshooting Chlorine Imbalances in Pools
Maintaining a balanced chlorine level in your pool is crucial for a safe and inviting swim experience. However, imbalances can happen due to several factors, such as weather changes, heavy pool usage, or even improper chemical management. If you notice issues like cloudy water, unpleasant odors, or irritating skin effects, it’s time to troubleshoot your chlorine levels effectively.
To start, assess your current chlorine level using a reliable testing kit. If the free chlorine level is significantly below the recommended 1 to 3 parts per million (ppm), it indicates a need for immediate adjustment. Follow these straightforward steps to address the imbalance:
Step-by-Step Troubleshooting
- Test Water Regularly: Use a pool test kit or strips at least twice a week. Check not only chlorine levels but also pH, alkalinity, and stabilizer levels.
- Adjust Free Chlorine Levels: If testing reveals low levels, add liquid chlorine according to your pool’s volume and the specific dosage indicated on the product label. Generally, 1 gallon of 12.5% sodium hypochlorite can raise the chlorine level in a 10,000-gallon pool by approximately 5 ppm.
- Monitor Stabilizer Levels: Ensure that the cyanuric acid (CYA) levels are between 30 to 50 ppm. If CYA is too low, add stabilizer to protect chlorine from being degraded by sunlight.
- Check for Organic Load: Heavy debris or algae can consume chlorine rapidly. Regular cleaning, skimming, and brushing reduce this load, allowing for better chlorine effectiveness.
- Consider Shock Treatments: If the chlorine levels are extremely low or if there is algae present, consider performing a shock treatment with a higher concentration of chlorine. This can effectively kill bacteria and restore balance.
Common Signs of Imbalance
Recognizing the signs of chlorine imbalance allows you to take timely action. Some common indicators include:
- Cloudy or green water, suggesting algae growth.
- Strong chlorine smell, which often indicates combined chlorine (chloramines) that isn’t providing effective sanitation.
- Skin or eye irritation for swimmers, hinting at either excessive chlorine or other chemical imbalances.
By being proactive and attentive, pool owners can maintain perfect chlorine balance, ensuring a crystal-clear and healthy swimming environment. Regular testing and prompt adjustments will empower you to enjoy your pool with confidence, knowing that you can manage any chemical imbalances effectively.
The Benefits of Regular Chlorine Testing and Maintenance
Regularly testing and maintaining chlorine levels in your pool is one of the most critical aspects of effective pool management. Not only does it ensure a safe and sanitary swimming environment, but it also extends the lifespan of your pool equipment and keeps maintenance costs manageable. A well-maintained chlorine level prevents unwanted growth of harmful microorganisms, thereby reducing the risk of infections among swimmers and achieving the crystal-clear water that is synonymous with a well-cared-for pool. The best way to enjoy your pool season after season is by adopting a routine that prioritizes regular testing.
To start, it’s beneficial to establish a consistent testing schedule. Testing your pool water at least twice a week will provide you with a clear understanding of chlorine levels, pH balance, and other critical chemical components. By keeping a log of these readings, you can identify trends or patterns that could signal a problem. For instance, if you notice that chlorine levels consistently drop, it may indicate a change in environmental factors-like increased debris from falling leaves-or excessive swimmer activity that burdens the chlorine reserves.
Utilizing a quality testing kit can empower you to take prompt action. If your tests reveal that chlorine levels are below the recommended 1 to 3 parts per million (ppm), immediate measures should be taken to adjust these levels. Adding liquid chlorine is often a straightforward solution; one gallon of 12.5% sodium hypochlorite can typically elevate chlorine levels in a 10,000-gallon pool by about 5 ppm. A quick calculation based on your pool size can guide how much to add, allowing for precise adjustments that maintain water safety while preventing both over-chlorination and under-chlorination.
In addition to maintaining chlorine levels, regular testing enables you to troubleshoot potential issues before they escalate. For example, if tests show that combined chlorine levels are elevated, it may signal the presence of chloramines, which can irritate swimmers’ skin and eyes. By reacting swiftly to these red flags, such as applying a shock treatment to re-establish balance, pool owners can prevent minor remedial actions from turning into more significant, costly problems. Thus, the fluid and responsive approach to regular chlorine testing acts as a proactive measure that ensures the sustainability and enjoyment of your swimming pool throughout the year.
Best Practices for Seasonal Pool Chlorine Management
To maintain a sparkling and healthy pool throughout the seasons, effective chlorine management is essential. As temperatures rise or fall, outdoor factors and pool usage patterns can change significantly, impacting your pool’s chlorine demand. Understanding the seasonal variations in chlorine needs helps prevent imbalanced water conditions, which can lead to algae growth or cloudy water. Implementing strategic practices ensures that your pool remains inviting regardless of the season.
Regular Testing and Adjustment
A critical practice for managing chlorine levels year-round is conducting regular water tests. Use a reliable testing kit to check chlorine levels, pH, and stabilizer concentrations at least once a week, more frequently during peak swimming periods. Clear record-keeping allows you to discern trends and make timely adjustments. For instance, warmer weather may necessitate more frequent chlorination due to increased UV exposure and swimmer activity. If your tests indicate a drop in chlorine levels below the recommended 1 to 3 ppm, it’s time to add liquid chlorine, typically in a concentration of 10-12.5% sodium hypochlorite.
Dosage Calculation
Calculating the proper dosage of liquid chlorine is vital for maintaining balanced water chemistry. A general rule of thumb is that one gallon of 12.5% liquid chlorine can raise the chlorine level in a 10,000-gallon pool by approximately 5 ppm. For precise dosages, you can use a simple formula:
- Determine pool volume in gallons.
- Use the formula: Desired increase in ppm x pool volume (in gallons) / 10,000 = gallons of liquid chlorine needed.
For example, if your pool requires a 3 ppm increase and has a capacity of 15,000 gallons:
3 ppm x 15,000 gallons / 10,000 = 4.5 gallons of liquid chlorine.
Monitor Environmental Factors
Seasonal changes can directly influence the chlorine demand in your pool. During summer months, increased sunlight and higher temperatures lead to faster chlorine degradation. Pool usage also spikes, adding organic material that reacts with chlorine. Conducting a shock treatment regularly-especially after heavy swimming days or after storms-can help restore chlorine levels quickly. Conversely, in cooler months, you might need to reduce the frequency of additions while still monitoring chlorine levels to prevent stagnation and algae growth.
Seasonal Rallying
As you transition between seasons, performing a deep clean and chemical balance check is critical. This includes clearing out debris, brushing walls and floors, and ensuring filtration systems effectively circulate water. For pool owners who close their pools in winter, consider using a winterizing product that maintains chlorine levels without constant monitoring, ensuring a smooth reopening in spring. Following these best practices allows you to enjoy crystal-clear water while minimizing maintenance effort, keeping your pool safe and enjoyable all year long.
FAQ
Q: How do I determine the right amount of liquid chlorine for my pool size?
A: To determine the right amount of liquid chlorine, first calculate your pool’s volume in gallons. Typically, you need about 1 to 3 quarts of liquid chlorine for every 10,000 gallons to achieve a target chlorine level of 1-3 ppm. This varies based on factors like pool usage and weather conditions.
Q: When is the best time to add liquid chlorine to my pool?
A: The best time to add liquid chlorine is in the evening or at night when the sun is down. This prevents the chlorine from dissipating quickly due to UV exposure and allows it to work effectively in sanitizing your pool water.
Q: What steps should I follow after adding liquid chlorine to my pool?
A: After adding liquid chlorine, wait at least 30 minutes to 1 hour before swimming. This allows the chlorine to disperse evenly. Use a test kit to check the chlorine levels before entering the pool to ensure they are within the safe range of 1-3 ppm.
Q: Can I mix liquid chlorine with other pool chemicals?
A: No, mixing liquid chlorine with other pool chemicals, especially acids or stabilizers, can create dangerous reactions. Always add chlorine separately and allow time for it to dissolve before introducing other chemicals.
Q: How do I troubleshoot high chlorine levels in my pool?
A: If chlorine levels are too high, stop using liquid chlorine immediately. To lower levels, partially drain the pool and refill it with fresh water, or use a chlorine neutralizer. Always retest the water before swimming to ensure safety.
Q: Why is liquid chlorine preferred over chlorine tablets?
A: Liquid chlorine is often preferred because it dissolves quickly and does not add stabilizers that can build up in the pool. It provides immediate results in sanitizing water, making it ideal for quick adjustments and frequent maintenance.
Q: How often should I test chlorine levels in my pool?
A: Test your pool’s chlorine levels at least once a week. However, it’s advisable to check more frequently during peak swimming season or after heavy rain or pool usage to maintain optimal water quality.
Q: Are there any signs that my pool is lacking chlorine?
A: Yes, signs of low chlorine levels include cloudy water, unpleasant odors, and increased algae growth. If you notice these symptoms, it’s time to add liquid chlorine to restore proper sanitation levels.
In Summary
Now that you know exactly how much liquid chlorine to add to your pool, it’s time to take action and keep your water crystal clear and safe for swimming. Remember, maintaining the right chlorine levels not only enhances your pool’s sanitation but also ensures a refreshing experience for you and your family. If you have any lingering questions about chlorine usage or pool chemistry, don’t hesitate to explore our guides on pool maintenance basics and troubleshooting common pool issues.
Ready to dive deeper? Our community is here to help! Share your experiences in the comments below and let us know how your chlorine dosing went. If you enjoyed these tips, consider subscribing to our newsletter for regular updates on pool care and exclusive offers on maintenance products. Keep your pool inviting and enjoyable-your oasis awaits!

